Finding original 6-volt tractor headlights can be a challenge, but this guide provides a step-by-step approach to sourcing, installing, and even upgrading your tractor's lighting. For more information on tractor parts, check out this helpful resource: Tractor Parts Guide.
Sourcing Options for 6-Volt Tractor Headlights
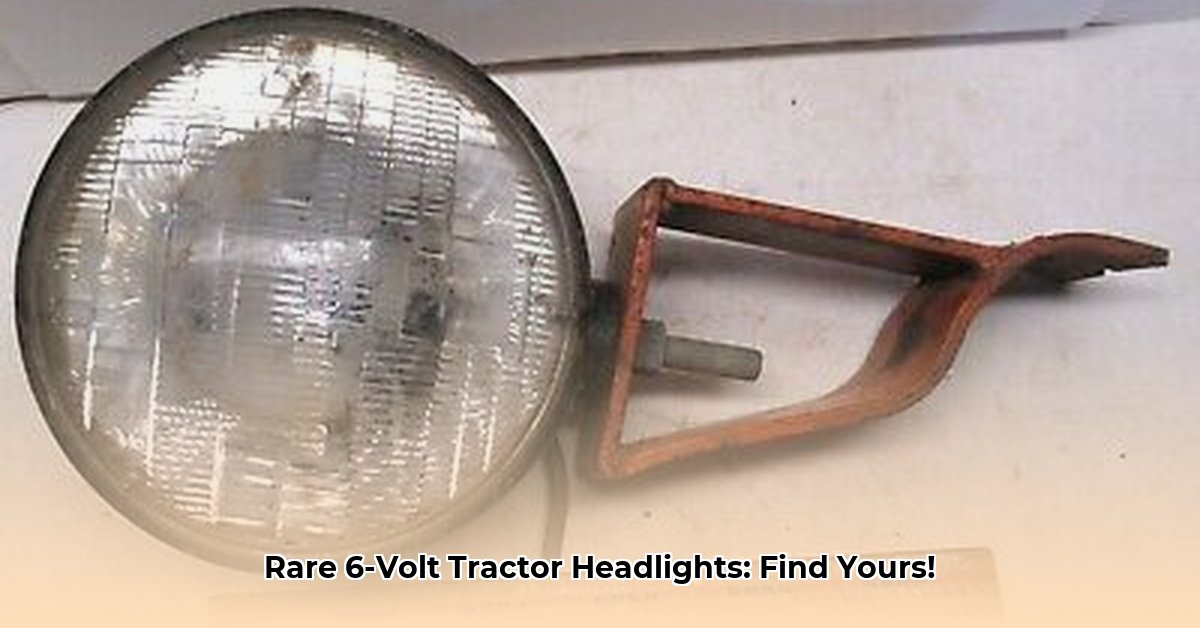
Locating replacement 6-volt headlights requires a multifaceted approach. Online marketplaces like eBay are a good starting point. Use precise search terms like "vintage tractor headlight 6V [tractor make and model]" to refine results. Always check seller feedback ratings to ensure reliability. Carefully examine photos: cracked or scratched lenses are common.
Specialized classic tractor parts suppliers, both online and brick-and-mortar, are another excellent resource. Their expertise can be invaluable. Online forums dedicated to tractor restoration are invaluable; experienced enthusiasts frequently share sourcing tips and sometimes offer parts directly.
Identifying Compatible Replacements
Voltage compatibility is paramount: only use 6-volt bulbs. Higher voltage will damage your tractor's electrical system. Wattage is also crucial; excessive wattage can lead to overheating. Refer to your original bulb's specifications for guidance. Different base types (the part that screws into the headlight housing) may necessitate adapters. Ensure a tight, secure connection to prevent electrical issues.
Installation Guide: A Step-by-Step Approach
Always disconnect the tractor battery before any electrical work to prevent shocks and short circuits.
- Headlight Removal: Carefully disassemble the old headlight assembly, taking note of wiring connections.
- Wiring Inspection: Examine wires for damage. Repair or replace any frayed or broken sections. Consider using heat-shrink tubing for added protection.
- Bulb Installation: Insert the new bulb, ensuring correct positive (+) and negative (-) terminal connections.
- Assembly and Securing: Reassemble the headlight housing and secure it firmly.
- Battery Reconnection: Reconnect the tractor battery.
- Testing: Turn on the headlights to verify proper function.
Troubleshooting and Common Problems
Loose wire connections or blown fuses are the most common issues. Inspect connections visually and check the fuse with the correct amperage rating. A multimeter (a basic electrical testing tool) can aid in more complex diagnostics.
Upgrading to LEDs: Benefits and Considerations
LEDs offer numerous advantages: increased brightness, energy efficiency, and extended lifespan. However, finding a direct 6-volt LED replacement may be difficult, requiring voltage regulation or conversion. Higher-wattage LEDs will necessitate modifications to your tractor's electrical system. Always prioritize electrical safety when making such modifications.
Important Note: Improper modifications can cause serious damage. Consult a qualified automotive electrician if unsure about any aspect of the upgrade process.
Conclusion: Keeping Your Tractor's Lights Shining Bright
Finding and installing 6-volt tractor headlights requires careful attention to detail and a methodical approach. With the right resources and techniques, you can restore your tractor's lighting system to its former glory. Remember, safety is paramount; prioritize electrical safety throughout each step of your work.